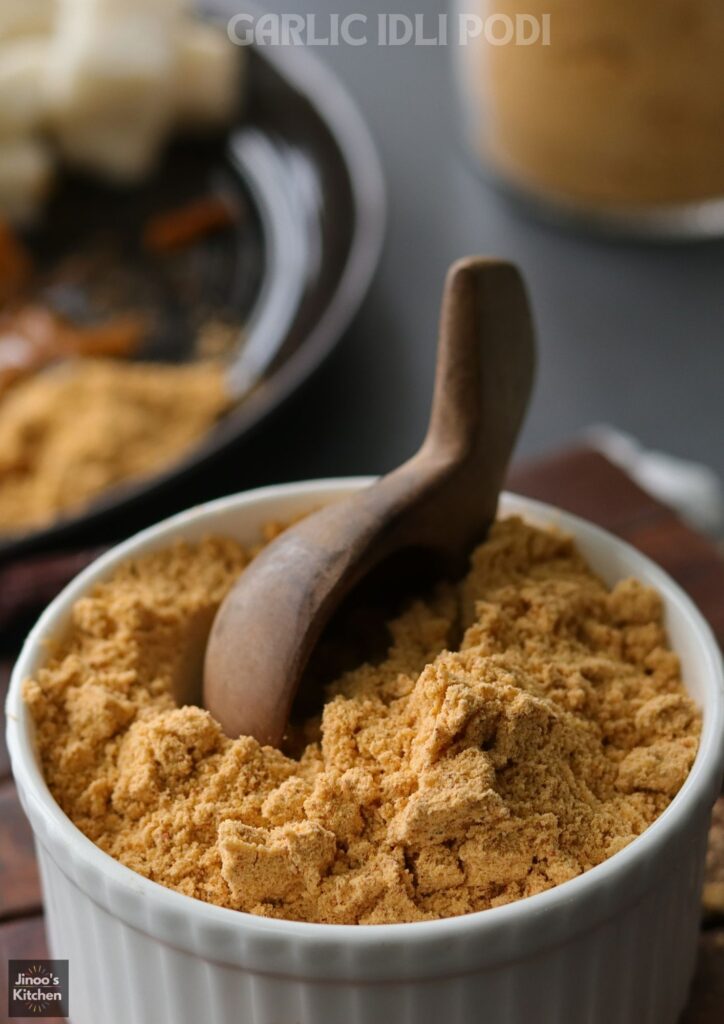
Garlic Idli Podi Recipe for Idli Dosa | Homemade Idli Chutney Powder recipe
Garlic Idli Podi is a must-try for anyone who loves a little extra flavor with their idli or dosa! This South Indian spice mix is easy to make, filled with garlic flavor, and can be stored to enjoy every time you make idli or dosa. Made with roasted garlic, dals, and spices, this recipe brings the tastiest of all my idli podi recipes
- Idli podi recipe | simple idli powder recipe
- Flax seed chutney powder | flaxseeds idli podi recipe | Spicy idly chutney powder using flax seeds
- Idli podi recipe | Black Urad dal Idli Podi | Idli Milagai podi recipe
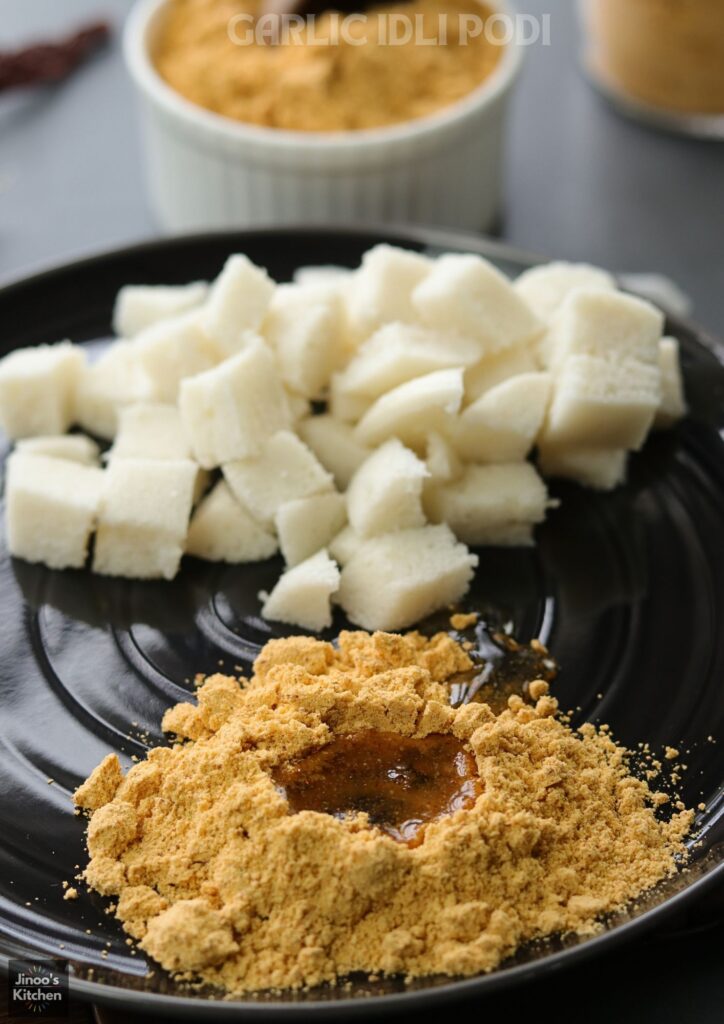
With every ingredient slow roasted to release its aromatic flavors, and then grinded to perfect consistency when mixed with sesame oil or coconut oil and to be had with soft fluffy idlis. i can eat upto 5 idlis 🙂 I dont need chutney when i have this idli chutney powder. I am so addicted to its roasted garlic flavour and every time i open the air tight box, i get that fresh roasted garlic flavour and it is so good. Not fair if i keep boasting about it, You try it for yourself and tell me about how it was.
Video recipe

Let’s Talk About Ingredients
- Garlic: Adds a distinct flavor and warmth to the podi. Adjust the amount as per your preference; it can be substituted with lesser garlic if you prefer milder flavors.
- Sesame Oil: Used to roast garlic, it brings out a nutty flavor while helping the garlic brown to perfection. You can substitute it with coconut oil as well.
- Urad Dal: Essential for the base of the podi. Slow roasting ensures even flavor.
- Chana Dal: Adds a rich, earthy taste that complements the urad dal and garlic. Do not skip them.
- Red Chilies: A mix of spicy ones and Kashmiri chilies balances heat and color. Adjust the spicy variety to your taste.
- Pink Salt: Adds a slightly mineral-rich flavor; regular salt or rock salt works too. adjust the salt quantity after you grind then podi
- Rice: Puffed rice adds to the colour and thickness when mixed with oil. dont skip it.
Detailed Recipe
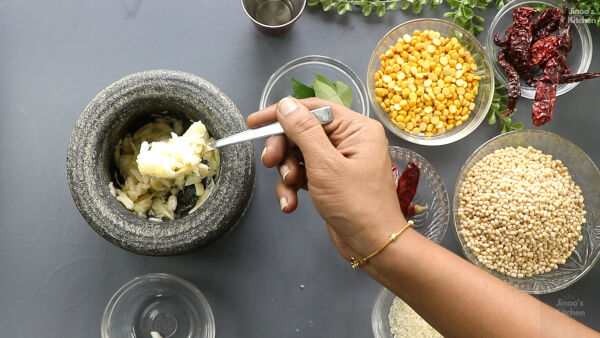
- Prepare Garlic: De-skin 1 pod of garlic (around ½ cup) and crush it coarsely using a mortar and pestle.
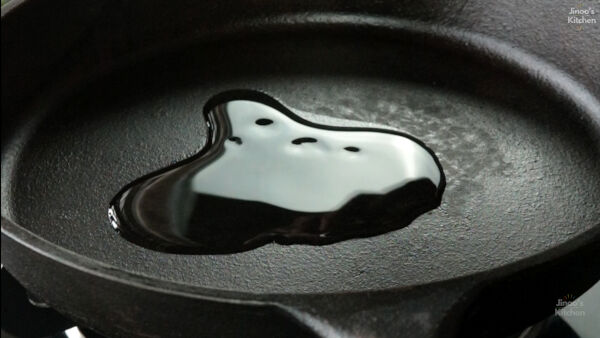
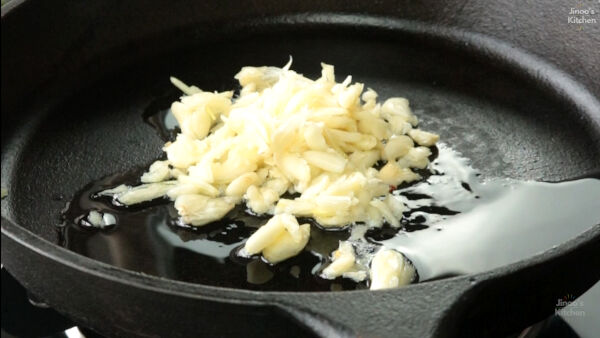
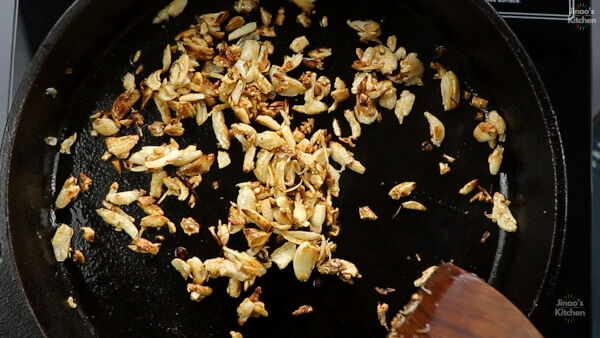
- Roast Garlic: In a thick-bottomed pan, heat 1 tsp sesame oil. Roast the garlic until golden and crisp. Set it aside on a plate.
- Roast Asafoetida: In the same pan, add ¼ tsp asafoetida and roast until it turns slightly darker. Transfer it to the plate.
- Roast Urad Dal: Clean the pan, add 1 cup urad dal, and roast on medium heat until golden spots appear. Transfer to the plate.
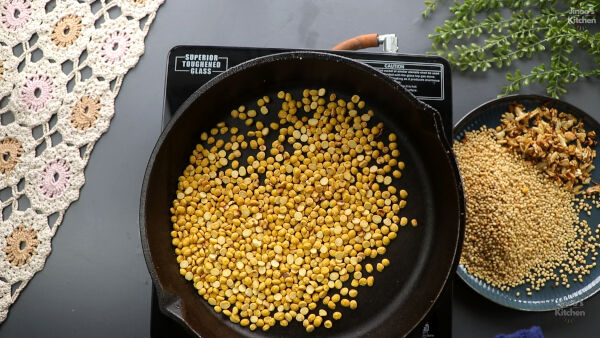
- Roast Chana Dal: Add ½ cup chana dal and roast on medium heat until slightly browned. Transfer to the plate.
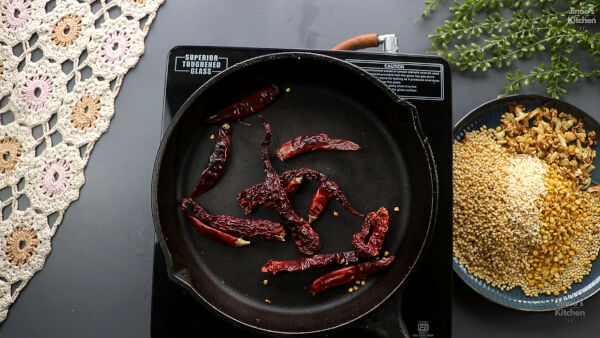
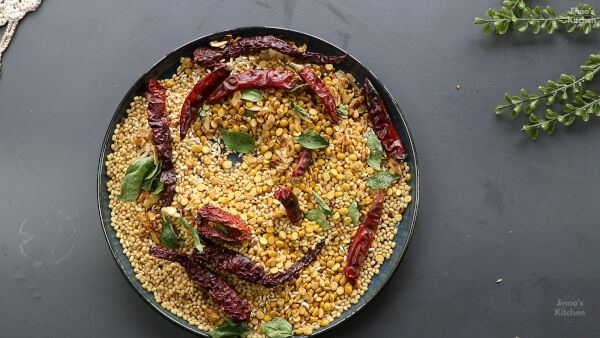
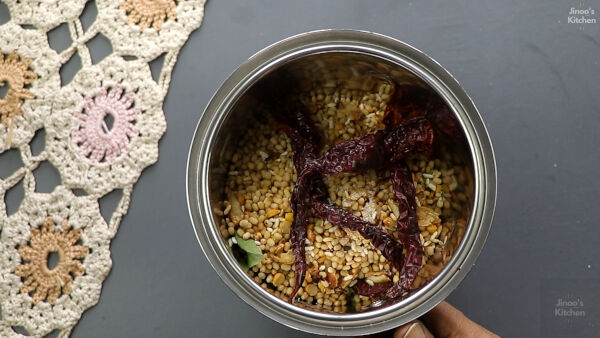
- Roast Chilies: Add 6 spicy red chilies and 6 Kashmiri red chilies. Roast until they’re heated through and slightly puffed. Transfer to the plate.
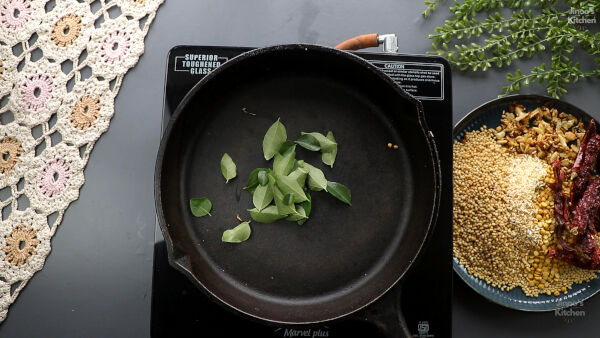
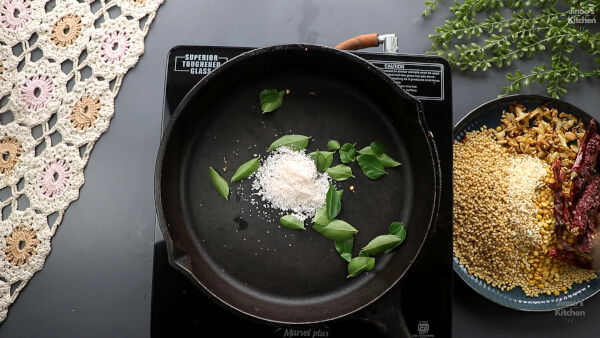
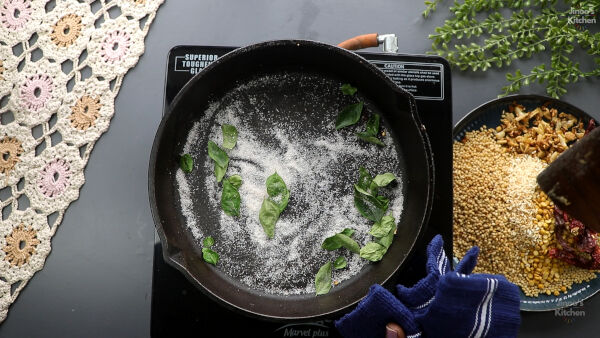
- Roast Curry Leaves & Salt: Add 1-2 sprigs of curry leaves and ½ tsp pink salt. Roast until the leaves are crisp and salt loses moisture. Transfer to the plate.
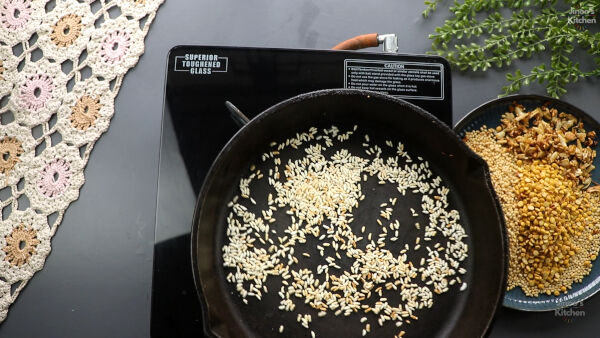
- Roast Rice: Add 1 tbsp rice and roast until it puffs up. Transfer to the plate.
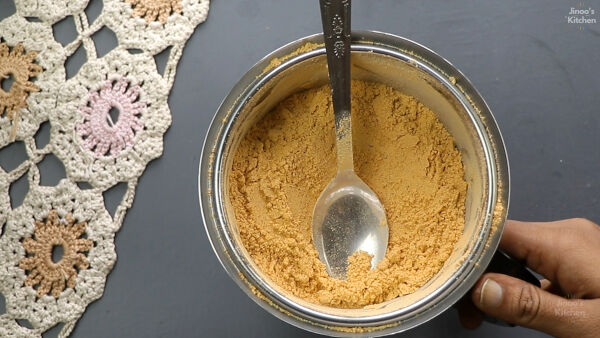
- Cool & Grind: Allow all ingredients to cool completely. You can also sun dry the ingredients for 1-2 hours before grinding. Grind everything into a fine powder. Adjust salt if needed.
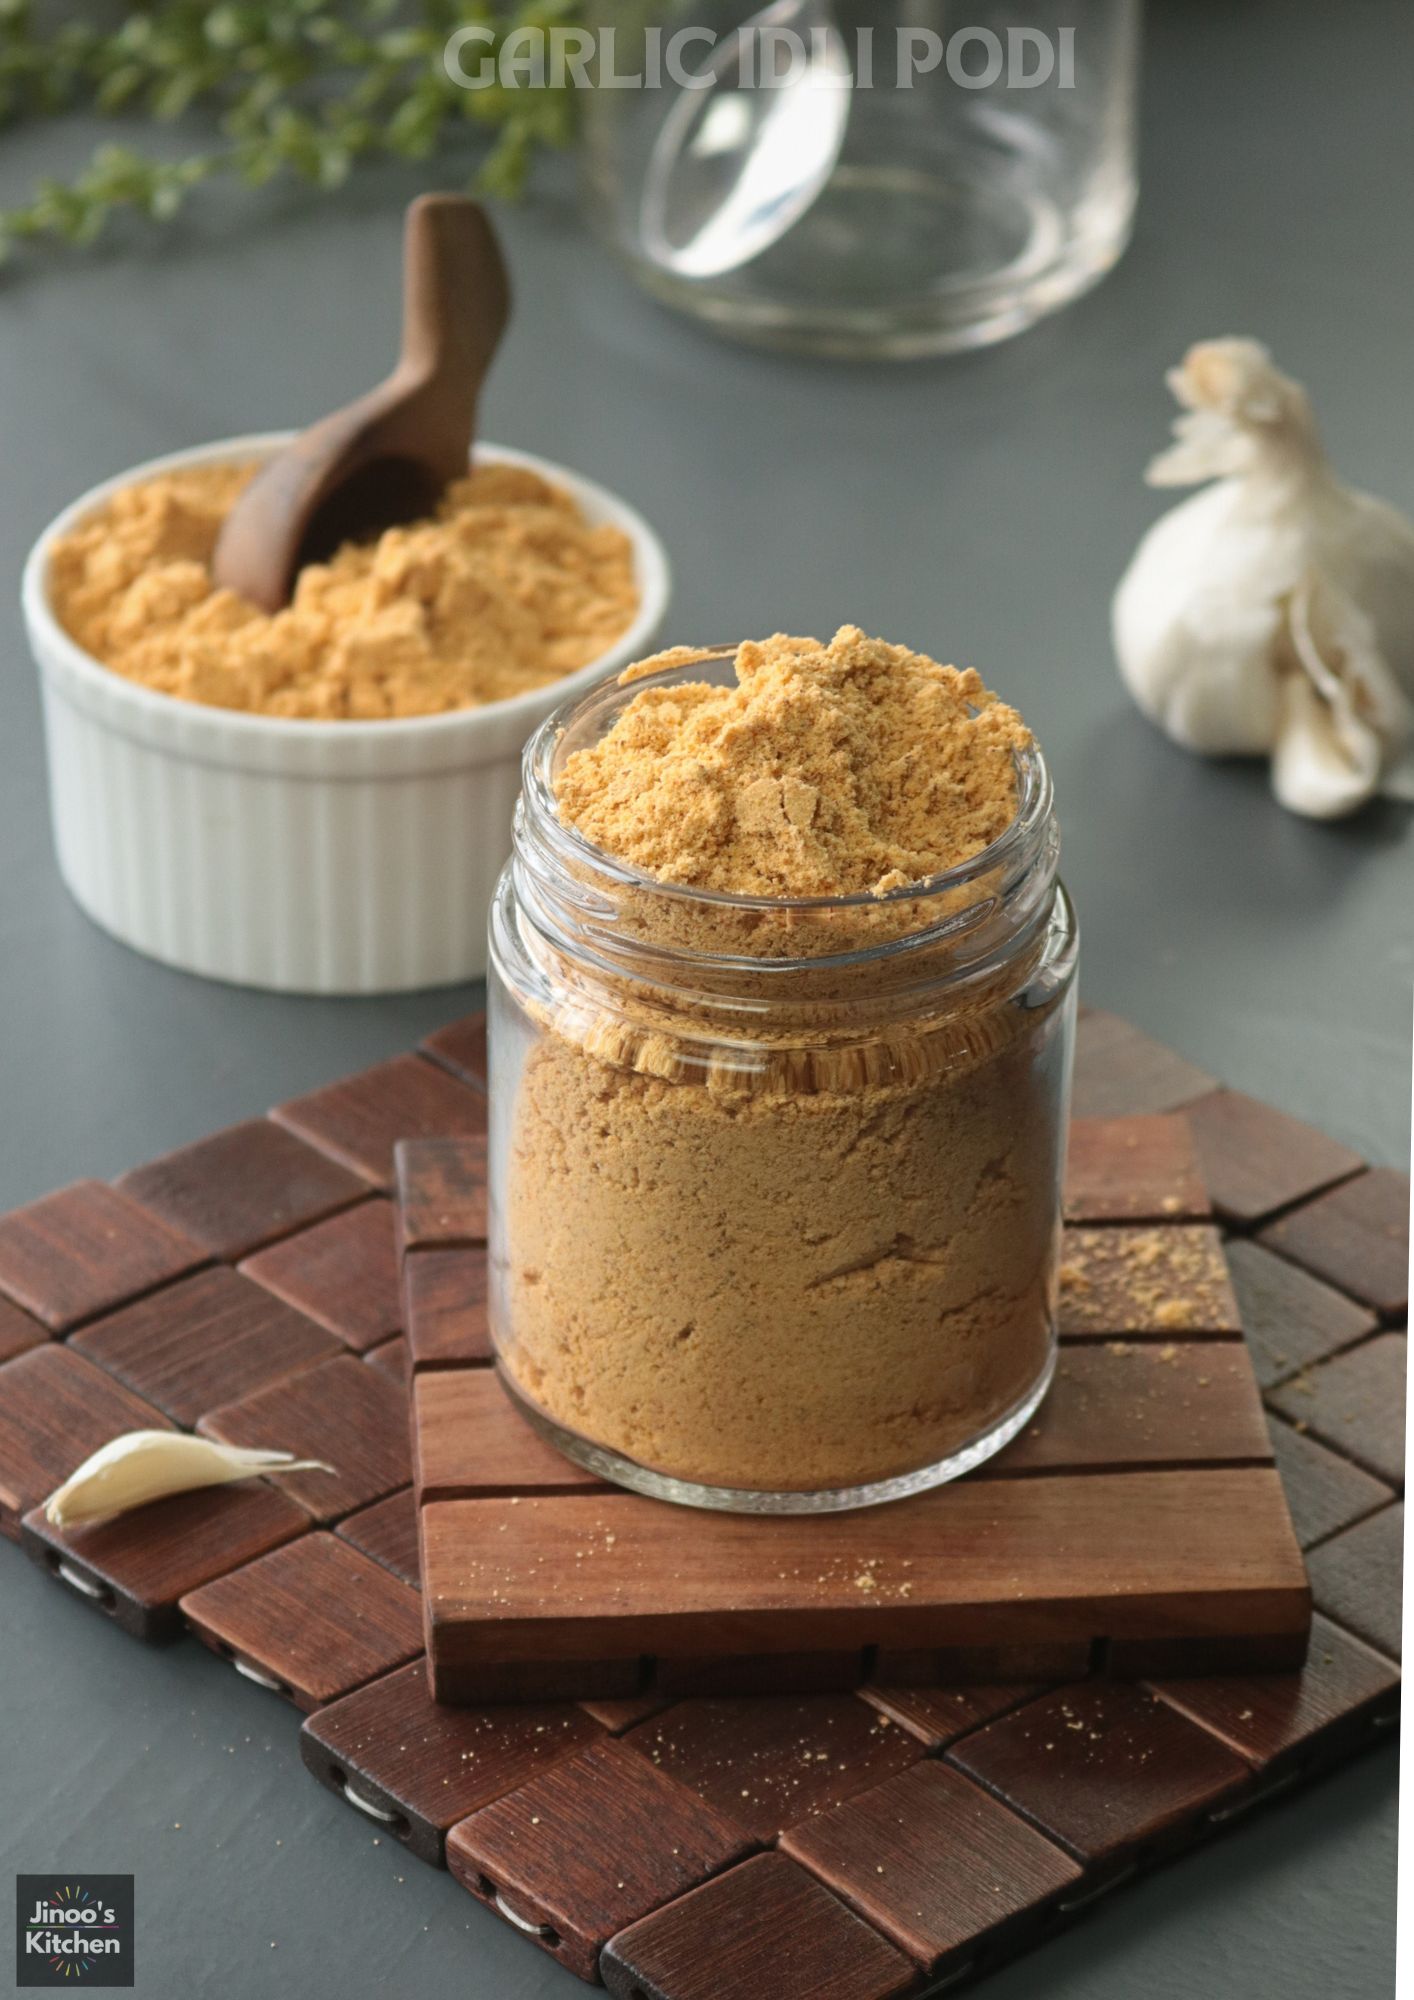
- Store: Let the podi cool after grinding and then store it in an airtight container.
Step pics
lets crush the garlic in mortar pestle
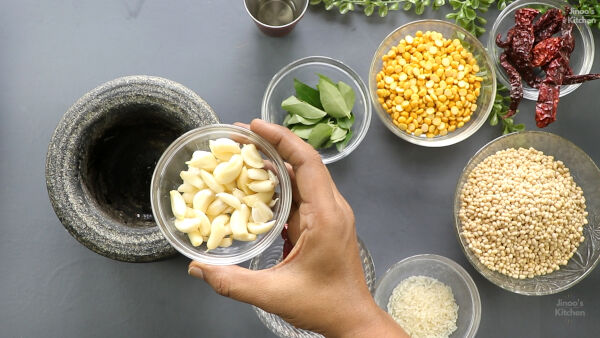
crush it coarsely
heat oil in a pan
add crushed garlic
roast until brown and crisp
transfer to a plate and add asafoetida granules
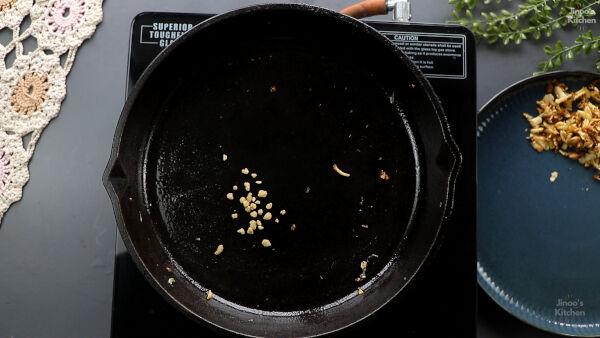
roast till colour changes
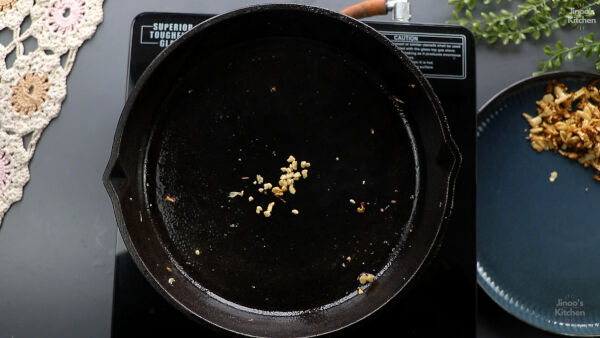
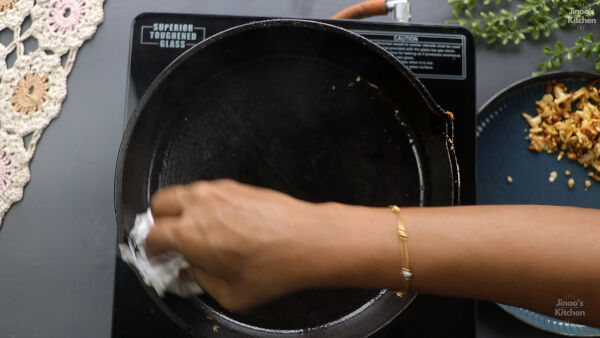
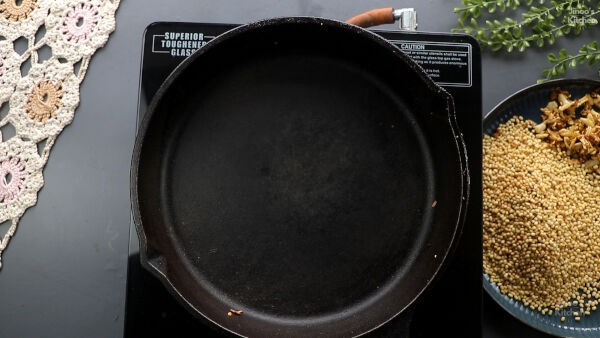
transfer to plate and then clean the pan to remove any excess oil
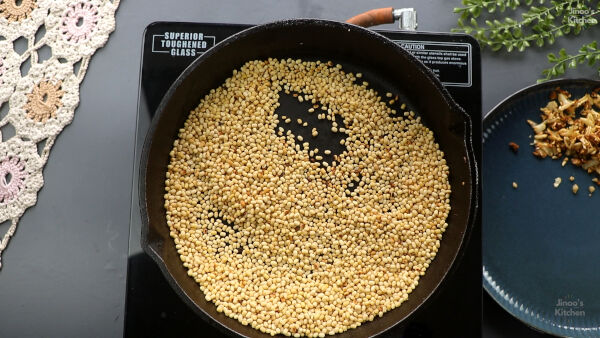
add urad dal
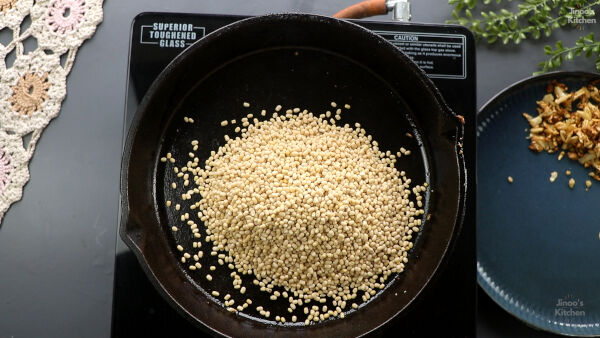
roast on a medium heat
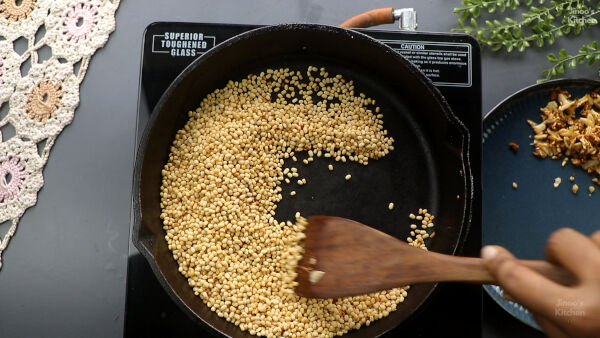
until brown spots appear
transfer to the plate immediately
add chana dal
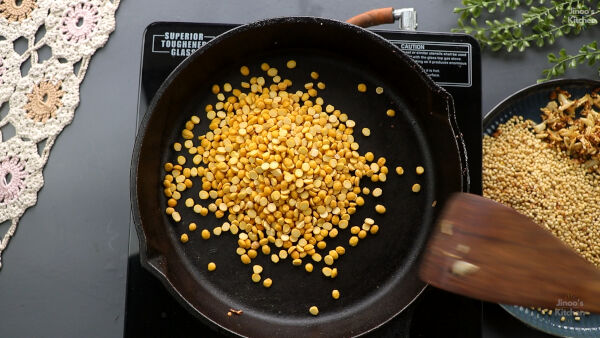
roast till brown and transfer to the plate
add rice

fry till it puffs up and transfer to the plate
add chillies
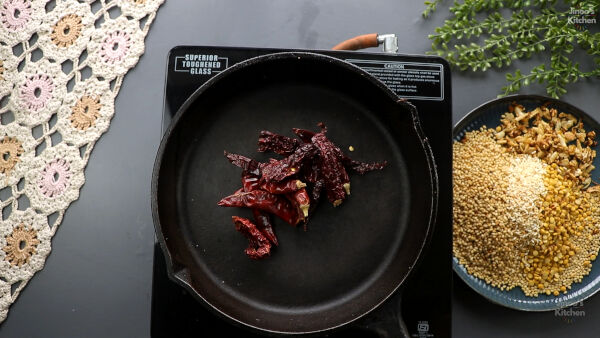
roast until heated up
add curry leaves
and salt
roast till crisp
cool it down completely
transfer to blender
blend to fine powder
store it in air tight container once cool.
Expert Tips
- Use Garlic with skin: For a strong, aromatic flavor, garlic with skin, crush it, roast it and powder it coarsely and then add it at the end to the idli podi without fine grinding it. this gives a slight crunch of garlic here and there and is too good as well.
- Slow Roasting: Roast each ingredient slowly over medium heat to ensure even color and flavor.
- Cool Before Grinding: This prevents moisture from building up in the podi.
- Store in Small Batches: Make smaller amounts to retain maximum flavor over time.
- Sun-Dry Option: Sun-drying roasted ingredients for a few hours to completely dry and crisp ingredients.
Recipe card
Garlic Idli Podi
Ingredients
- 1 pod garlic de-skinned (½ cup, coarsely crushed)
- 1 tsp sesame oil
- ¼ tsp asafoetida
- 1 cup urad dal
- ½ cup chana dal
- 6 spicy dry red chilies
- 6 Kashmiri red chilies
- 1-2 sprigs curry leaves
- ½ tsp pink salt or to taste
- 1 tbsp rice
Instructions
- Roast garlic in sesame oil until golden and crisp. Set aside.
- Roast asafoetida until darker and transfer to a plate.
- Dry-roast urad dal on medium heat until golden spots appear, then add to the plate.
- Roast chana dal until lightly browned, then add to the plate.
- Heat red chilies and add to the plate.
- Roast curry leaves with pink salt until crisp, then add to the plate.
- Roast rice until puffed and add to the plate.
- Cool all ingredients, grind to a fine powder, and adjust salt.
- Store in an airtight container once completely cool.